LO3: This is a turn table rendered, light and comped by Alister using my textures. The specula pass was never used and a simple v-ray surface shedder was used for the texture. The White pattern was isolated in comp and given a glow effect so the luminescence is purely created in comp. The lighting is created using a GI pass and comped on. This pass was very time consuming to render in 1080 so it was render in 720 and sized up with almost no quality lost. The GI was the only problem encounter when lighting and rendering this character so overall the 3D pipeline is very simple and will cause no adverse problems for the project.
|
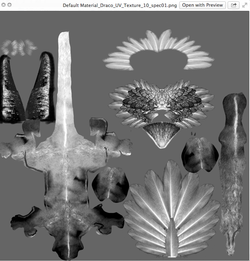
LO2: Again with the girl the UVs have to be made in a 2D friendly way and this time I got the UVs in ray form so I had to unravel them and knit them together form scratch. for this I used automatic mapping as this gives the most even UVs and casually knitted the seams together to create UVs that I could read with ease. this process had to be done for all the various objects on her as at this point we have not decided if all the genomarty will be merged or separate for rigging. LO3: Girl UVs undeited LO3: UVs edited LO3: UVs tested with checked texture for ensure there is not stretching- I like to use this type of texture t check the UVs instead of the black and white checkers as these have letters and numbers so u can see if they are bing stretched - with the black and white it is difficult to see if a solid colour is being stretched or not. LO3: This is a texture render test completed by Alister to test the texture and lighting on the rigged model. Alister posed the model in an extreme pose to again test how the textures would fair under a stretched geo. The first pass is a v-ray shader which make the texture look great without any need for the specular so after seeing this turn table the specular was scrapped. I also thought that the hard light glow pass was also very effective for the white pattern. LO6: The next stage for Draco after being animated will be to test rendered with lighting and comp. the earlier shots will take longer as this is when the look of the film will be solidified and then the rest of the renders and comps will follow with the same formula. LO2: To create the specular I used photos of fur and features to cover the body and face. This was avery simple process again completed in photoshop, manipulating the photos so that the fur and feathers are alined to the UVs in the right way. I will leave it up to Alister if these get used. As a director I want to create a visually pleasing character.
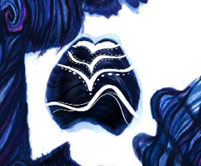
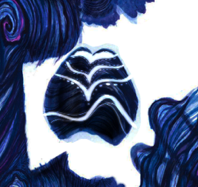
LO2: when first creating the pattern I simply drew a white pattern without any effects and tested it on the ear. I was happy with the pattern but I felt that it didn't integrate with the rest of texture well enough. I tested out a rough comp test within photoshop, duplicate the pattern and blurring it to create a glow effect and also overlaying it. I was happy with that effect but I realised that this photo manipulation is best left for lighting and rendering and comp stages but I now have an idea of how it will look later on.
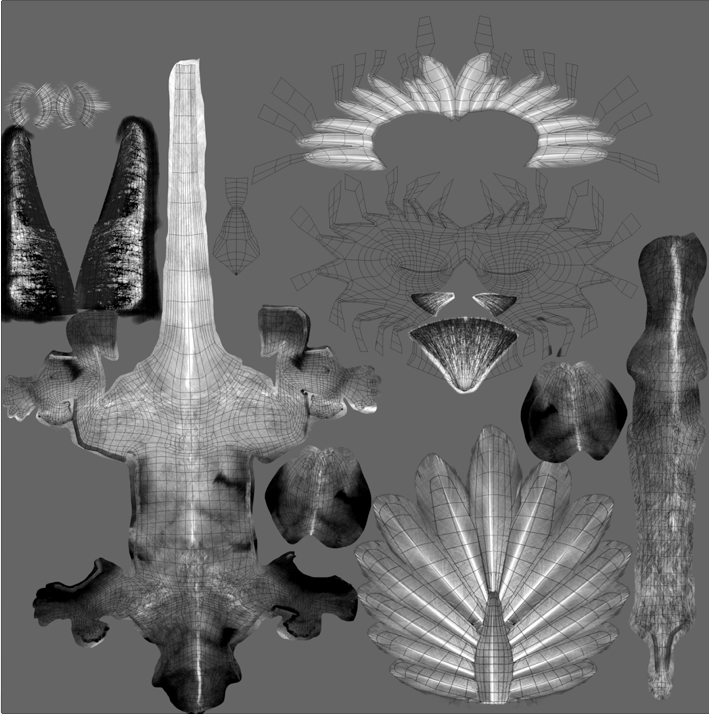
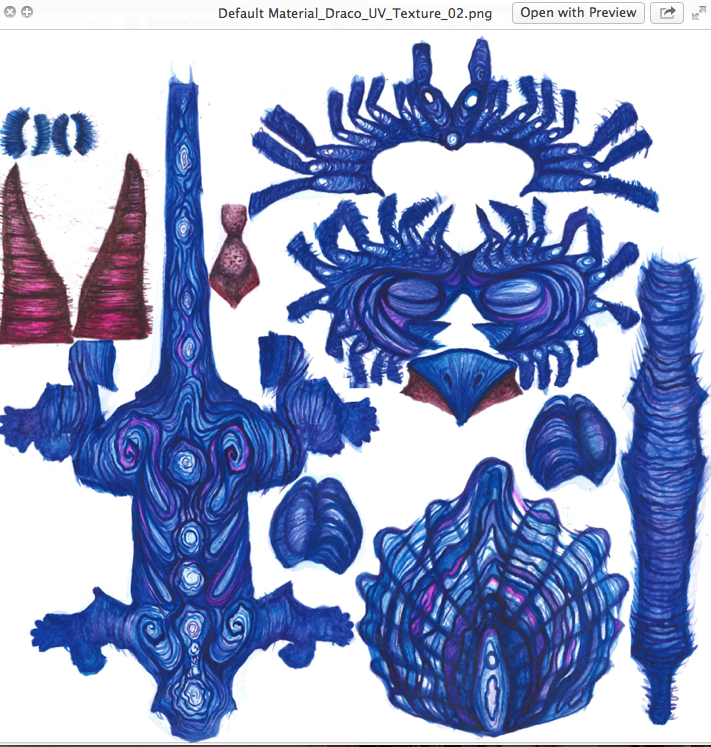
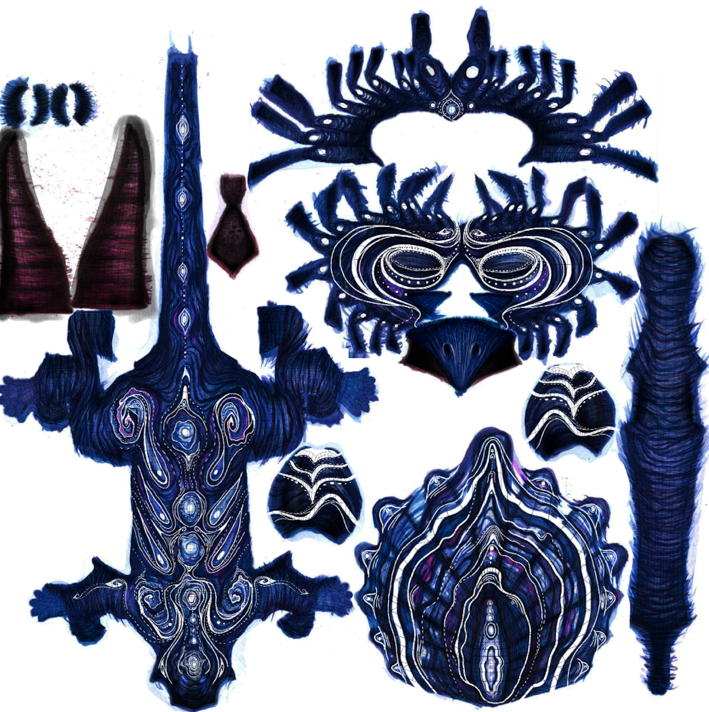 LO2: Having the texture base all set up I started to edit and enhance it in Photoshop. Having seen the texture in maya I decided that the texture was too light and not detailed enough. I easily darken the texture using brightness and contrast and levels ext. The extra detail was done with a simple standard brush multiplied on top of the water colour texture. The image below shows this layer by itself before being multiplied. As this layer was also created in photoshop this layer too needed to be taken into mud box to fix the seams. 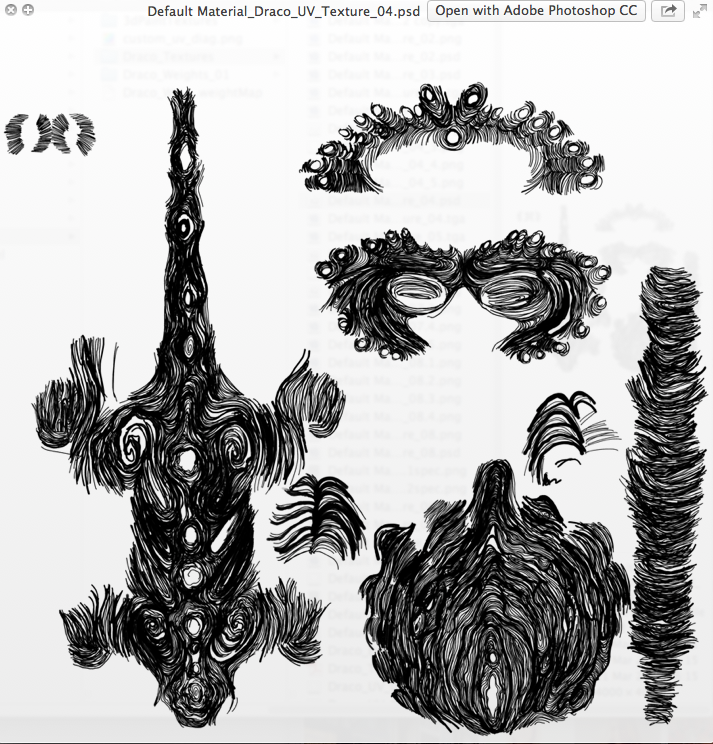 Mud box layer to fix the seams which I merged with my photoshop layer. 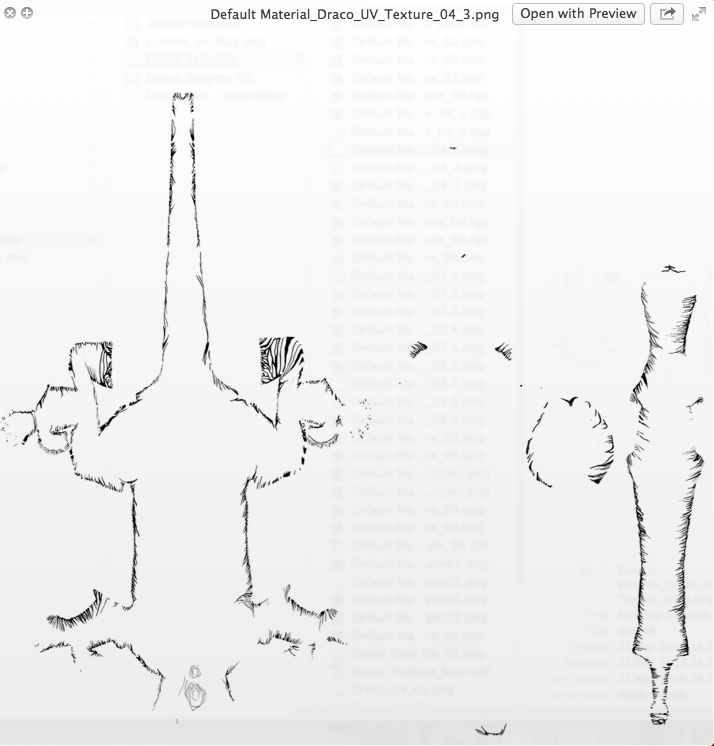 Water colour texture edited and with multiply layer.L 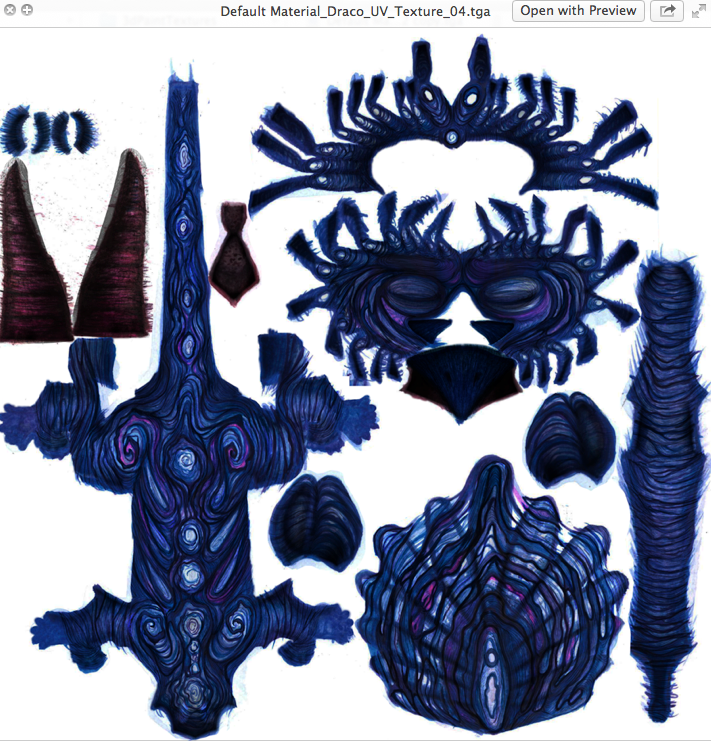
LO3: I added this to the UVs in A3 formate for printing resulting in a mesh and shading which showed me which parts of Draco would receive most light. This helped with understanding which parts of the UV was what. i.e. shading on the underbelly shows areas that are close to the leg. 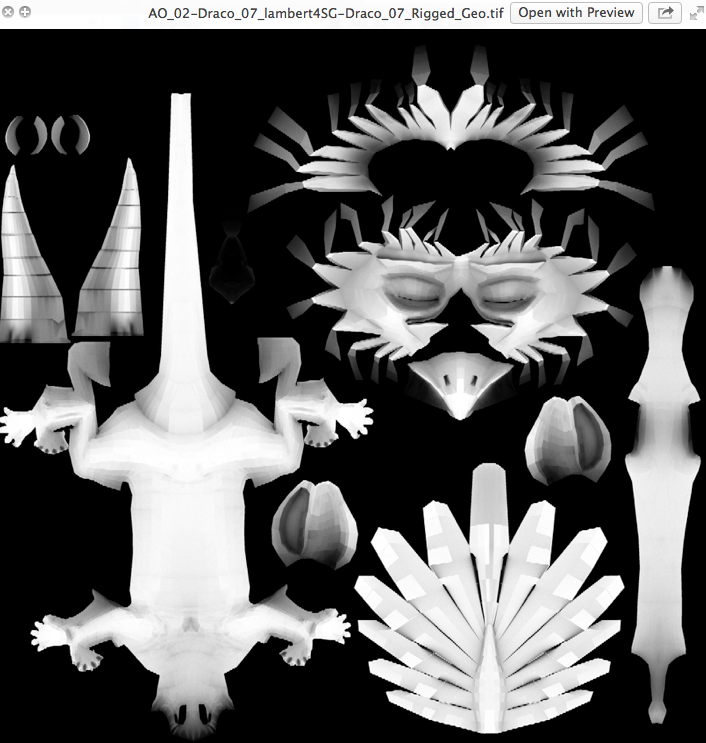 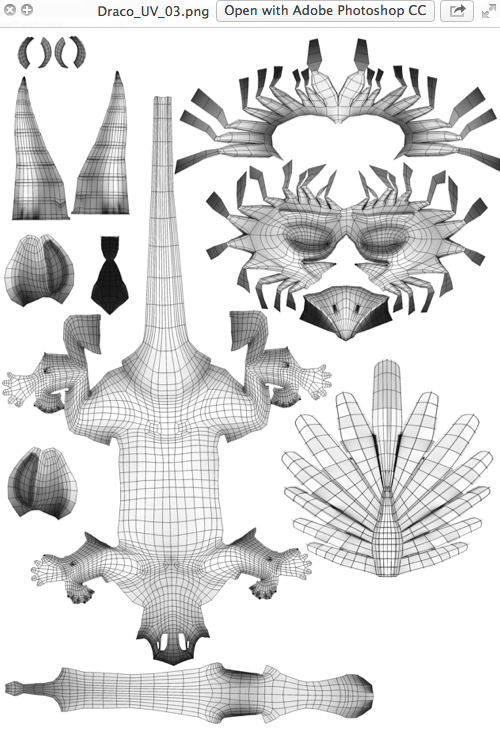 LO2: To ensure that the UVs where even when I manipulated the UV I did so with a coloured checkers texture acting as a quid to see if there was any distortions. Having completed one half of the body i proceeded to mirror the UVs and format them. 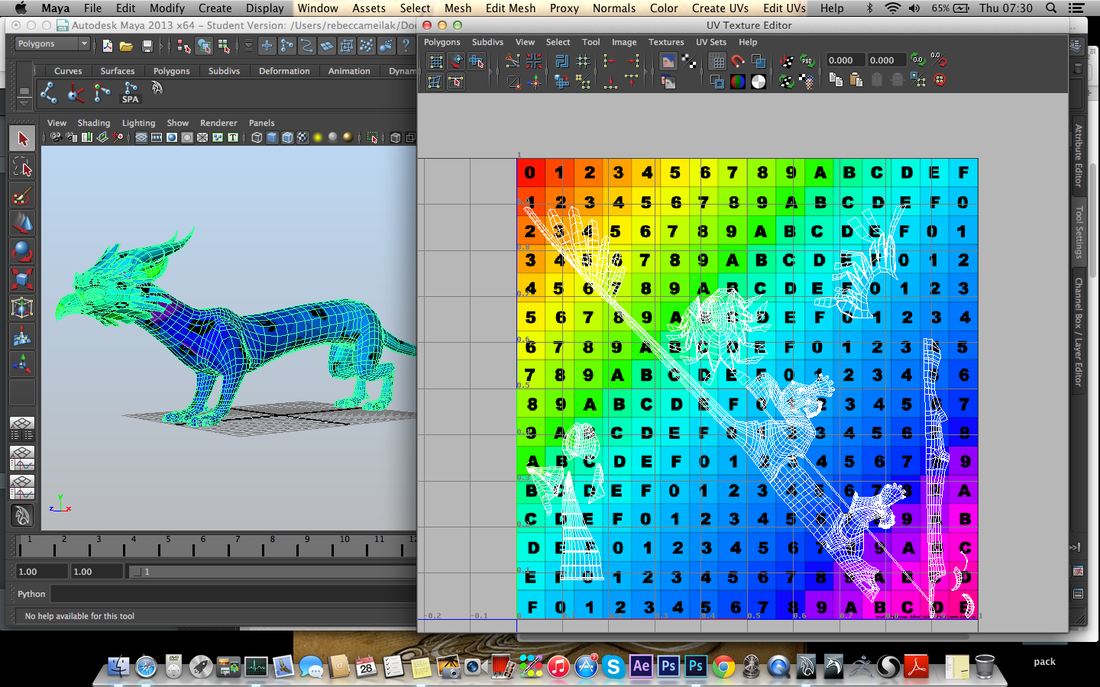 This is screen trap of both of the model and final UVS. As you can see the head and tail dominate half of the UV tile. While this is not proportionate with the body the head is an area which will have a lot of focus throughout the animation so requires a hight resolution of textures. This also meant that when painting I could convey a high level of detail via paint brush. I am happy with this lay out so will proceed with the next stage of texturing. 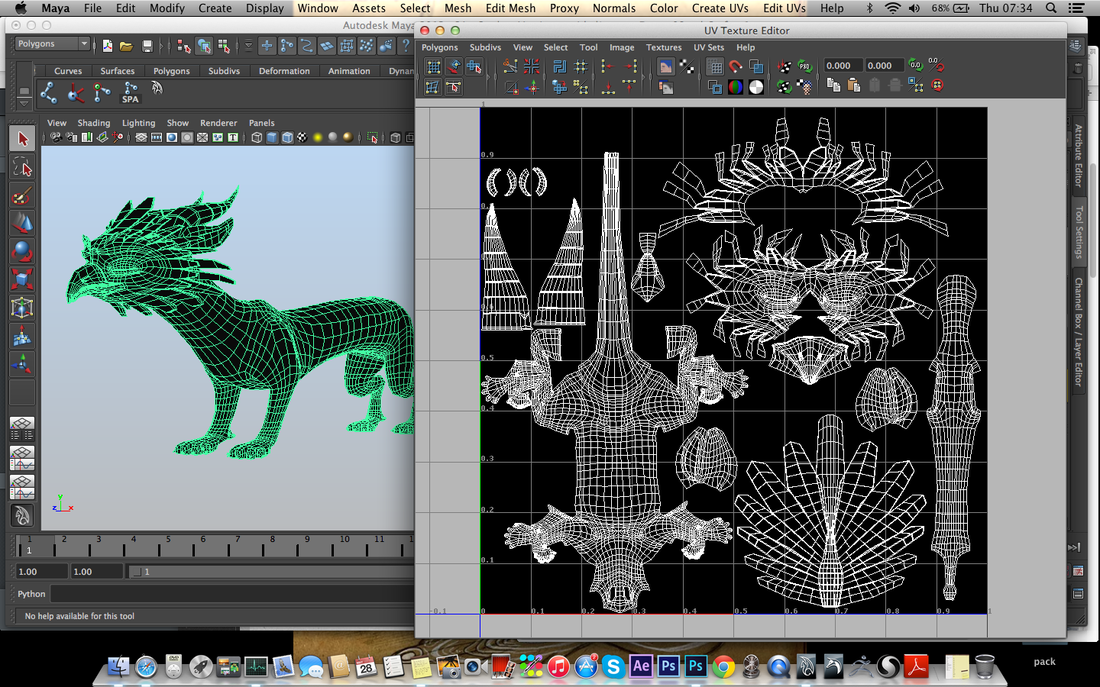 LO2: I have decided to use my specific style of texturing for this project. I want to perfect the current method and my skills as well as create a stylised texture suiting on the character and over aesthetics of the short. My current method of texturing is to map out the UVs in a way that can be read from a 2D format with ease. This is so that when I hand paint the texture on water colour paper i will be able to understand which part of the 3D form I am painting. This mean that the lay out of the UVs have to be made with this pipeline in mind. When I received the model, Nadia had created the UVs like so: While the UVs themselves were daily even much of the UV tile wasn't being utilised and some parts of him, such as the back legs and feathers, were not mapped out well for my purpose. With this in mind I will work on top of what Nadia has given me and carry on. 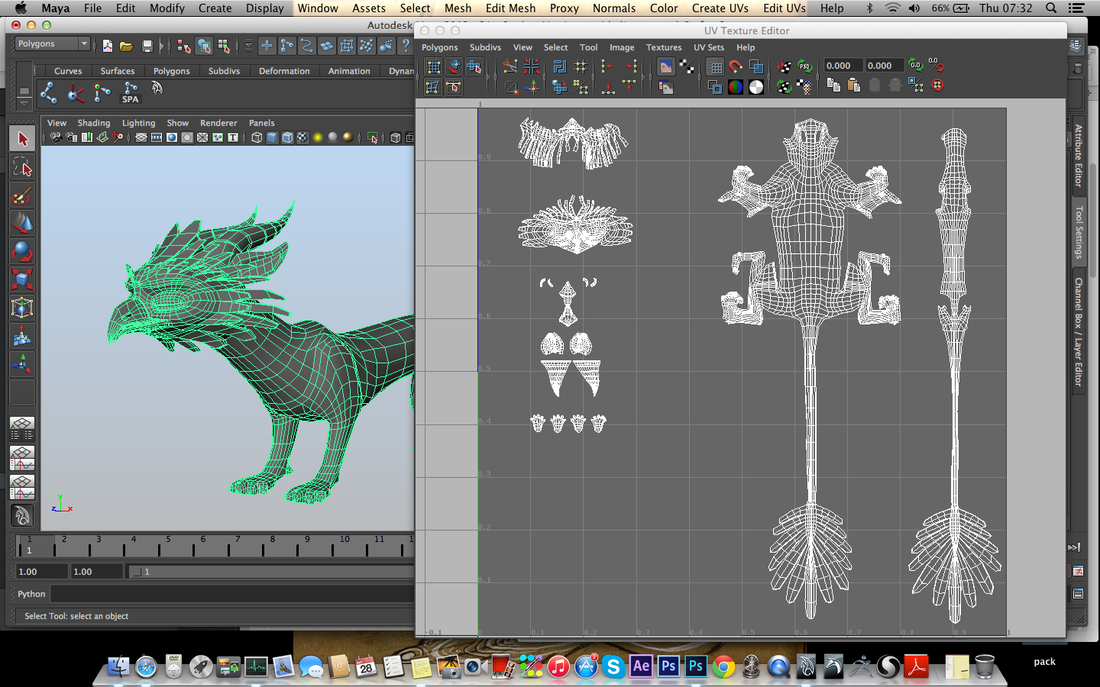 |


 RSS Feed
